Mastering Tankless Gas Water Heater Maintenance: A Comprehensive Guide
Tankless gas water heaters, also known as on-demand water heaters, offer numerous advantages over their tanked counterparts, including endless hot water, energy efficiency, and space-saving design. However, to enjoy these benefits consistently, regular maintenance is crucial. This comprehensive guide will walk you through every aspect of tankless gas water heater maintenance, ensuring years of reliable hot water.
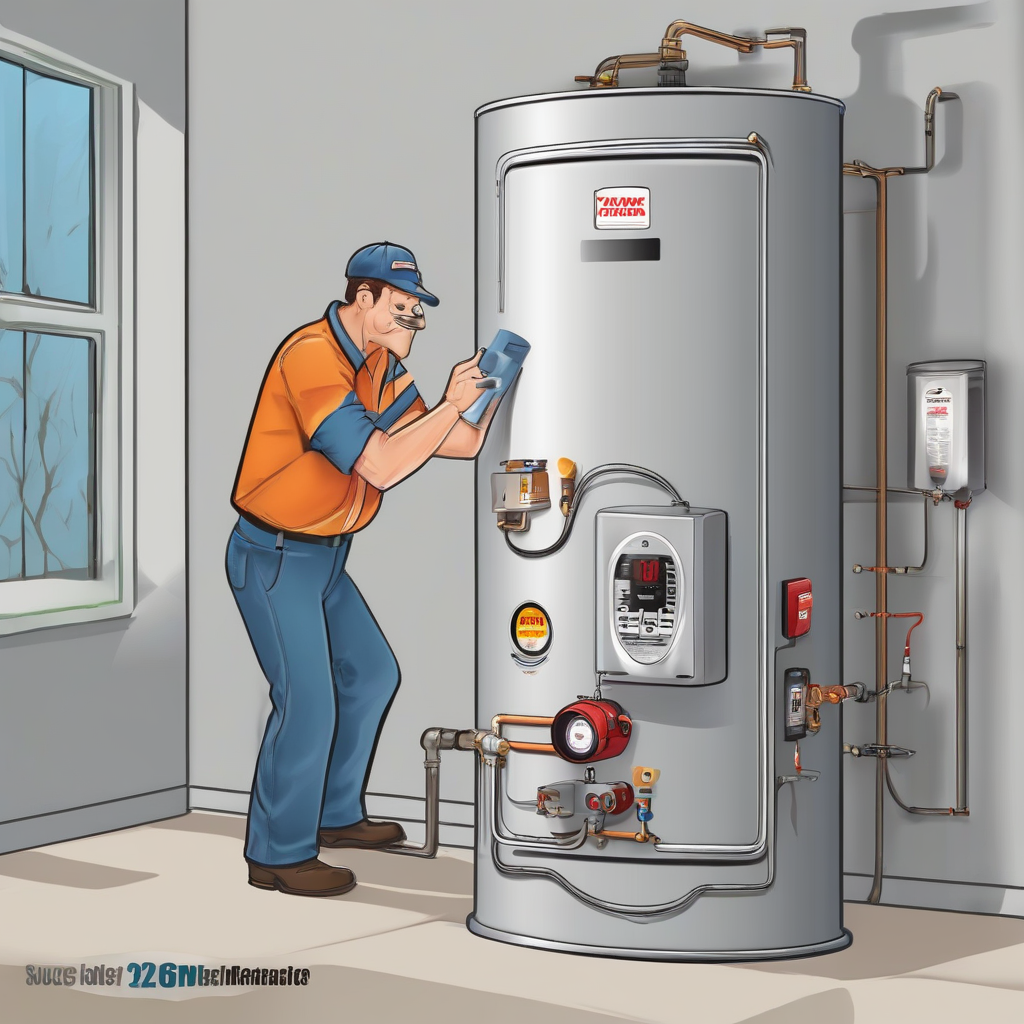
Understanding Your Tankless Water Heater
Before diving into maintenance, it’s vital to understand the components and workings of your tankless water heater. This will help you identify potential issues and perform maintenance effectively.
- Gas Supply Line: Ensures a constant flow of gas to the heater. Regular inspection for leaks is essential.
- Gas Valve: Controls the gas flow to the burner. Proper functioning is crucial for safe and efficient operation.
- Burner: Ignites and heats the water. Regular cleaning is necessary to prevent performance degradation.
- Heat Exchanger: The heart of the system, transferring heat from the burner to the water. Scale buildup can significantly reduce its efficiency.
- Water Inlet/Outlet: Points where water enters and exits the unit. Check for leaks and ensure proper water pressure.
- Vent System: Disperses combustion byproducts safely outdoors. Proper venting is critical for safety.
- Control Panel/Display: Provides information on the heater’s operation and may indicate error codes.
- Thermostat: Regulates water temperature. A malfunctioning thermostat can lead to inconsistent water temperature.
Regular Maintenance Tasks
Performing these tasks regularly will significantly extend the lifespan of your tankless water heater and ensure optimal performance.
1. Visual Inspection
- Check for Leaks: Inspect all connections, pipes, and the unit itself for any signs of leaks. Address any leaks immediately.
- Examine the Vent System: Ensure the vent pipe is clear, unobstructed, and properly sealed. Blockages can lead to carbon monoxide buildup.
- Check for Corrosion: Look for signs of rust or corrosion on the unit and its components. Corrosion can indicate potential problems.
2. Cleaning the Burner and Heat Exchanger
This is arguably the most important maintenance task. Scale buildup (mineral deposits) on the heat exchanger drastically reduces efficiency and can eventually lead to failure.
- Turn Off the Gas Supply: This is crucial for safety before performing any cleaning.
- Turn Off the Power: If your unit has an electric component, such as an ignition system, turn off the power supply.
- Access the Burner and Heat Exchanger: Consult your owner’s manual for instructions on accessing these components. This often involves removing a panel.
- Clean the Burner: Use a wire brush or compressed air to remove any dust, debris, or cobwebs that may have accumulated.
- Clean the Heat Exchanger: Depending on your model, you may be able to clean the heat exchanger with a brush, compressed air, or a descaling solution. Follow the manufacturer’s recommendations.
- Reassemble the Unit: Carefully put everything back together, ensuring all connections are secure.
3. Flushing the System
Flushing the system removes sediment and scale buildup from the internal components, improving efficiency and extending the lifespan of the heater.
- Turn Off the Gas and Water Supply: Safety first!
- Disconnect the Water Inlet and Outlet Pipes: Prepare containers to collect the water.
- Flush the System: Use a garden hose to flush water through the unit until the water runs clear. This might require several cycles.
- Reconnect the Pipes: Ensure all connections are tight and secure.
- Turn the Water Supply Back On: Carefully check for any leaks.
4. Checking the Gas Pressure
Incorrect gas pressure can affect performance and efficiency. Use a manometer (gas pressure gauge) to check the gas pressure at the gas supply line. Compare this reading to the manufacturer’s specifications. If the pressure is off, consult a qualified technician.
5. Inspecting the Exhaust Vent
- Check for Blockages: Ensure the vent pipe is free from obstructions like birds’ nests or debris.
- Inspect for Cracks or Damage: Any damage to the vent pipe can compromise safety and should be repaired immediately.
- Ensure Proper Draft: A draft gauge can be used to test the efficiency of the venting system.
6. Testing the Thermostat
An accurate thermostat is crucial for maintaining the desired water temperature. A malfunctioning thermostat can lead to inconsistent hot water.
- Check the Temperature Settings: Verify that the thermostat is set to the desired temperature.
- Observe Water Temperature: Note the actual water temperature and compare it to the set temperature. Significant discrepancies indicate a potential thermostat issue.
- Consult the Manual: Refer to your owner’s manual for troubleshooting steps specific to your thermostat model.
Troubleshooting Common Issues
While regular maintenance prevents many problems, issues can still arise. Here are some common problems and troubleshooting steps:
1. Insufficient Hot Water
- Check Water Flow Rate: Low water flow can reduce the efficiency of the heating process.
- Check Gas Supply: Ensure the gas supply is turned on and the gas pressure is correct.
- Inspect the Heat Exchanger: Scale buildup can drastically reduce hot water output.
- Examine the Burner: A clogged or malfunctioning burner can affect heating capacity.
2. Water Temperature Fluctuations
- Check the Thermostat: A faulty thermostat can cause erratic water temperature.
- Inspect the Gas Valve: A malfunctioning gas valve might lead to inconsistent gas flow.
- Check Water Pressure: Low water pressure can affect the heating process.
3. Error Codes
- Consult the Owner’s Manual: Your owner’s manual will provide a list of error codes and their meaning.
- Reset the Unit: Some error codes can be resolved by simply resetting the unit.
- Contact a Technician: If you are unable to resolve the issue, contact a qualified technician.
4. Gas Leaks
- Smell for Gas: A strong sulfur-like odor indicates a potential gas leak.
- Turn Off the Gas Supply: Immediately turn off the gas supply if you detect a leak.
- Evacuate the Area: Leave the area and call a qualified gas technician immediately.
- Do Not Attempt Repairs Yourself: Gas leaks are dangerous and should only be addressed by trained professionals.
When to Call a Professional
While many maintenance tasks can be performed by homeowners, some situations require the expertise of a qualified technician.
- Gas Leaks: Never attempt to repair a gas leak yourself.
- Complex Repairs: If you encounter a problem you cannot diagnose or repair, consult a professional.
- Major Component Failure: If a major component, such as the heat exchanger or gas valve, fails, professional intervention is necessary.
- Annual Inspection: Schedule an annual inspection by a qualified technician to ensure your water heater is operating safely and efficiently.