Gas Heater Not Working: A Comprehensive Troubleshooting Guide
A malfunctioning gas heater can leave you shivering in the cold, making it crucial to understand the potential problems and how to address them. This guide provides a step-by-step approach to troubleshooting common gas heater issues, from simple fixes to those requiring professional assistance.
Safety First: Essential Precautions
- Turn off the gas supply: Before attempting any repairs, always turn off the gas supply to the heater at the main valve. This prevents gas leaks and potential fire hazards.
- Ventilate the area: Ensure adequate ventilation in the area surrounding the heater. Carbon monoxide poisoning is a serious risk with gas appliances, so good ventilation is crucial.
- Never attempt repairs if you’re unsure: If you’re uncomfortable working with gas appliances, call a qualified gas technician. Improper repairs can lead to dangerous situations.
- Consult your owner’s manual: Your heater’s manual provides specific instructions and safety guidelines tailored to your model. Refer to it throughout the troubleshooting process.
Common Problems and Troubleshooting Steps
1. Pilot Light Issues
A common problem is a malfunctioning pilot light. Here’s how to troubleshoot it:
- Check the gas supply to the pilot: Ensure the gas valve supplying the pilot light is open. A small knob or lever usually controls this.
- Clean the pilot assembly: Dust, debris, and spider webs can obstruct the pilot light. Use a soft brush or compressed air to carefully clean the area around the pilot.
- Relight the pilot: Follow the instructions in your owner’s manual for relighting the pilot light. This usually involves holding a lit match or lighter near the pilot orifice while pressing and holding the reset button or lever.
- Check for gas leaks: After relighting, check for gas leaks around the pilot assembly using soapy water. Bubbles indicate a leak, requiring immediate professional attention.
2. Thermocouple Problems
The thermocouple is a safety device that senses the pilot flame and keeps the gas flowing. If it malfunctions, the heater won’t stay lit.
- Inspect the thermocouple: Check the thermocouple for damage, corrosion, or excessive sooting. A damaged thermocouple needs replacement.
- Clean the thermocouple: Gently clean the thermocouple with fine steel wool or a wire brush. Be careful not to bend or damage it.
- Check the connection: Ensure the thermocouple is securely connected to both the pilot assembly and the gas control valve.
- Replace if necessary: If cleaning doesn’t resolve the issue, the thermocouple likely needs replacement. This requires some technical skill; consult a professional if unsure.
3. Gas Control Valve Problems
The gas control valve regulates the flow of gas to the burner. A faulty valve can prevent the heater from igniting or maintaining a consistent flame.
- Check the valve position: Ensure the gas control valve is properly set to the “on” position.
- Listen for clicking sounds: A clicking sound from the gas control valve may indicate a problem with the ignition system or the valve itself.
- Check for obstructions: Inspect the valve for any obstructions that might be preventing gas flow.
- Replace if necessary: A faulty gas control valve usually requires professional replacement due to its complexity and safety implications.
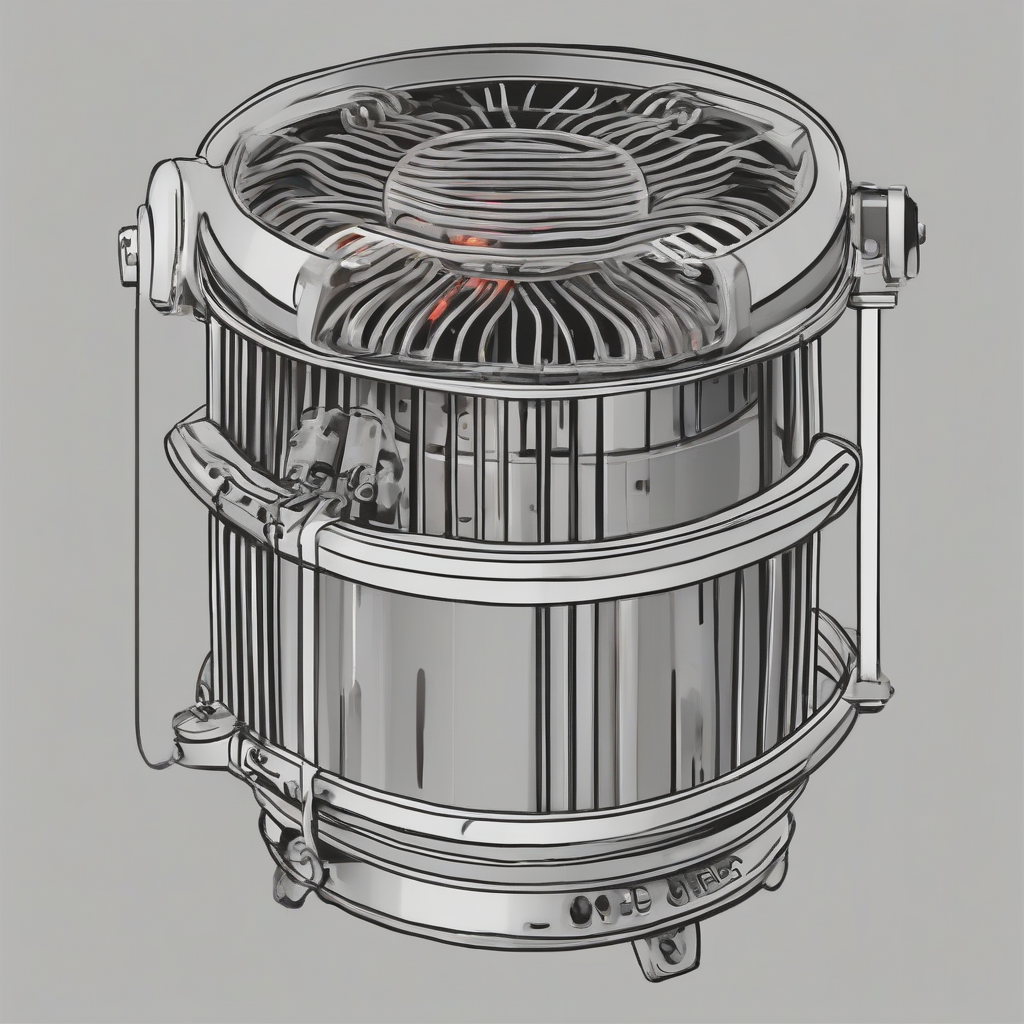
4. Burner Problems
A dirty or damaged burner can prevent efficient combustion and heat production.
- Inspect the burner: Carefully examine the burner for cracks, holes, or excessive rust. A damaged burner needs replacement.
- Clean the burner: Use a wire brush or a specialized burner cleaning tool to remove dust, debris, and soot from the burner ports. Ensure all ports are clear.
- Check for air flow: Make sure the air vents around the burner are clear and unobstructed. Restricted air flow can affect combustion.
- Replace if necessary: A severely damaged or corroded burner should be replaced by a qualified technician.
5. Ignition System Problems
The ignition system sparks or ignites the gas, allowing the flame to light. Problems with this system can prevent the heater from starting.
- Check the batteries (if applicable): Some heaters use batteries for the electronic ignition system. Replace them if necessary.
- Inspect the igniter: Examine the igniter for damage or corrosion. A damaged igniter needs replacement.
- Check wiring connections: Ensure all wiring connections to the ignition system are secure and undamaged.
- Professional assistance: Ignition system problems often require professional diagnosis and repair.
6. Thermostat Issues
The thermostat controls the heater’s operation by turning it on and off based on the desired temperature.
- Check the thermostat settings: Ensure the thermostat is set to the desired temperature and is turned on.
- Check the thermostat’s power supply: If the thermostat is battery-operated, check the batteries.
- Test the thermostat: Try adjusting the thermostat to a significantly higher temperature to see if the heater responds.
- Replace if necessary: A faulty thermostat often needs replacement, especially if it fails to respond to adjustments.
7. Air Filter Issues
A clogged air filter restricts airflow, affecting combustion and potentially causing the heater to shut down.
- Locate the air filter: Find the air filter compartment, usually located on the heater itself.
- Remove and inspect the filter: Remove the filter and examine it for dust and debris. A heavily soiled filter needs cleaning or replacement.
- Clean or replace the filter: Clean the filter by vacuuming or washing it (depending on the filter type), or replace it with a new one.
8. Gas Leaks
Gas leaks are a serious safety hazard. They can cause explosions or carbon monoxide poisoning.
- Check for leaks: Use soapy water to check for gas leaks around all gas connections and fittings. Bubbles indicate a leak.
- Turn off the gas supply immediately: If you detect a gas leak, turn off the main gas supply immediately.
- Ventilate the area: Open windows and doors to ventilate the area.
- Call a qualified gas technician: Gas leaks require immediate attention from a qualified professional.
9. Power Supply Issues (for Electric Ignition Systems)
Electric ignition systems require a power supply to generate the spark for ignition.
- Check the circuit breaker: Ensure the circuit breaker controlling the heater hasn’t tripped.
- Check the wiring: Inspect the wiring for any damage or loose connections.
- Check the voltage: Verify that the appropriate voltage is supplied to the heater.