A Comprehensive Guide to Installing Your Gas Water Heater: Safety, Efficiency, and Longevity
Installing a gas water heater can seem daunting, but with careful planning and adherence to safety regulations, it’s a manageable DIY project for many homeowners. This guide provides a detailed, step-by-step process, emphasizing safety precautions and best practices to ensure a successful and long-lasting installation.
I. Pre-Installation Preparations: Planning and Safety
Before you even touch a wrench, thorough planning and preparation are crucial. This phase significantly reduces the risk of errors and ensures a smooth installation.
- Obtain Necessary Permits: Check your local building codes and obtain the required permits. This is vital for safety and legal compliance. Failure to obtain permits can result in fines or even necessitate the removal of the installed heater.
- Shut Off Utilities: Turn off the gas supply to the area where you’ll be working. Locate and turn off the gas valve, typically found near the gas meter or where the gas line enters your home. Also, turn off the electricity to the area, to prevent accidental shocks.
- Gather Tools and Materials: Assemble all necessary tools and materials before you begin. Having everything readily available will streamline the process and prevent interruptions. A comprehensive list is provided later in this guide.
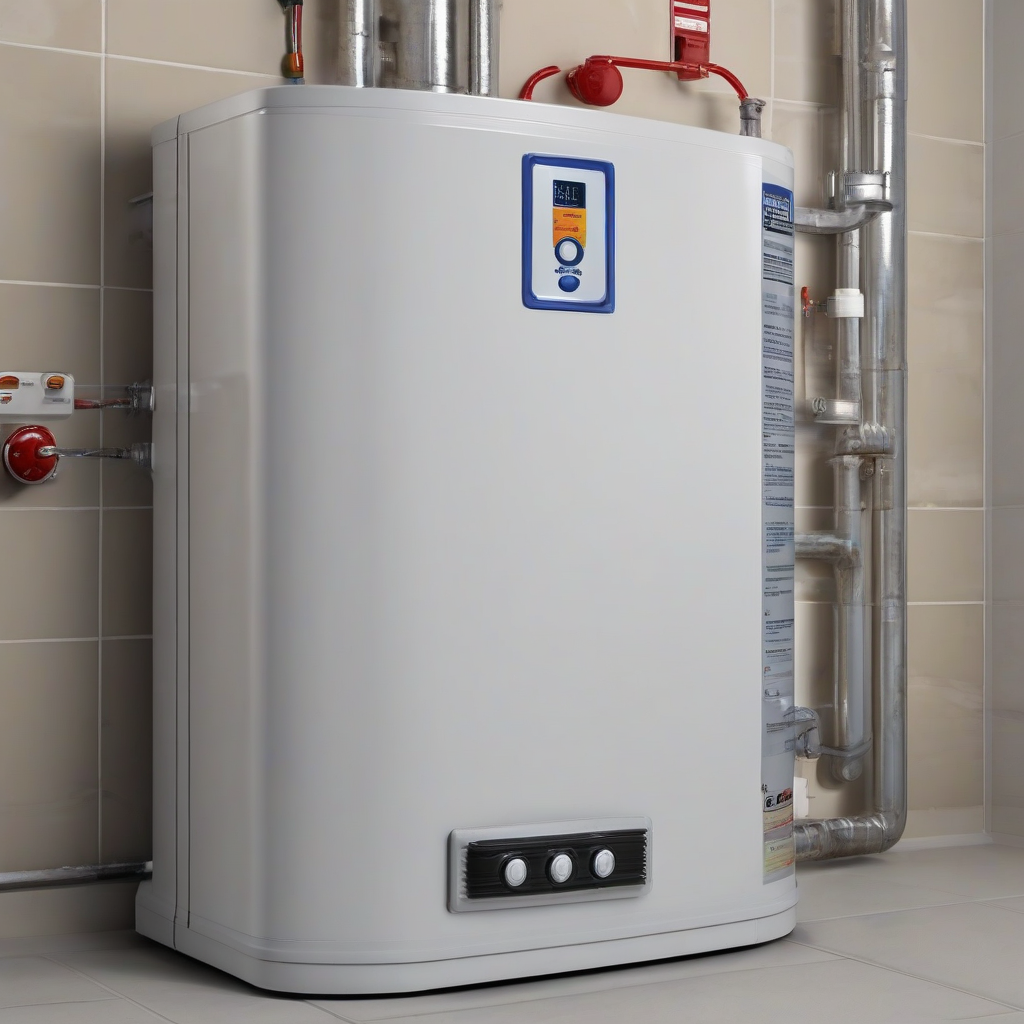
- Choose the Right Location: Select a location that meets ventilation requirements and provides easy access for maintenance and repairs. Consult your local gas company and the heater’s installation manual for specific recommendations.
- Check for Leaks: After shutting off the gas, carefully inspect the existing gas lines for any signs of leaks using a soapy water solution. Bubbles indicate a leak, requiring immediate professional attention.
- Ventilation Requirements: Gas water heaters require adequate ventilation to prevent carbon monoxide buildup. Ensure sufficient ventilation is available according to the manufacturer’s instructions and local codes. This often involves proper venting through the roof or exterior wall.
II. Step-by-Step Installation Process
The following steps outline the installation process. Remember to consult your specific water heater’s manual for detailed instructions and diagrams.
- Disconnect the Old Water Heater: Carefully disconnect the water supply lines to the old water heater. Place buckets underneath to catch any remaining water. Turn off the gas supply line and disconnect it from the old heater.
- Remove the Old Water Heater: Carefully remove the old water heater from its location. This may require assistance, depending on the size and weight of the unit. Be mindful of potential hazards such as sharp edges or remaining water.
- Prepare the New Location: Clean the area where the new water heater will be installed. Ensure the base is level and stable. Use shims as needed to achieve proper leveling.
- Connect the Gas Line: Carefully connect the gas supply line to the new water heater, ensuring a tight and secure connection. Use appropriate fittings and sealant to prevent gas leaks. After connecting, check for leaks using soapy water. Consult a professional if you are uncomfortable with this step.
- Connect the Water Supply Lines: Connect the cold water supply line to the water heater inlet and the hot water outlet to the existing plumbing system. Use appropriate fittings and Teflon tape to ensure leak-proof connections. Ensure the correct orientation of the inlet and outlet.
- Electrical Connections (If Applicable): If your water heater requires electricity, connect the electrical wiring according to the manufacturer’s instructions. Ensure proper grounding and adherence to electrical codes.
- Connect the Venting System: Install the venting system as per the manufacturer’s instructions and local building codes. Ensure all connections are secure and leak-proof. Proper venting is critical for safe operation.
- Flush the System: Before turning on the gas and water, flush the system to remove any debris or sediment from the pipes. This will prevent clogs and improve efficiency.
- Turn on the Gas and Water: Carefully turn on the gas supply to the water heater. Slowly turn on the cold water supply. Check for leaks around all connections.
- Light the Pilot Light (If Applicable): If your water heater has a pilot light, follow the manufacturer’s instructions to light it. This may involve using a long match or lighter.
- Check for Leaks: After the water heater is running, carefully check for any leaks around all connections, including the gas line, water supply lines, and vent pipe. If leaks are found, immediately turn off the gas and water supply and address the issue.
- Pressure Test: Perform a pressure test to verify the integrity of the plumbing system. This involves pressurizing the system and monitoring for pressure drops, indicating potential leaks.
III. Tools and Materials Checklist
Having all necessary tools and materials ready before starting the installation will significantly expedite the process and minimize interruptions.
- Adjustable Wrench
- Pipe Wrench
- Channel-Lock Pliers
- Screwdrivers (Phillips and Flathead)
- Level
- Plumber’s Putty
- Teflon Tape
- Soap Solution (for leak detection)
- Gas Line Connectors
- Water Supply Lines
- Shims
- Bucket(s)
- Safety Glasses
- Work Gloves
- Gas Leak Detector (optional but highly recommended)
- New Gas Water Heater
- Venting materials (if necessary)
- Appropriate fittings and connectors
IV. Safety Precautions and Warnings
Safety should always be the top priority when working with gas and water. Failure to follow safety precautions can lead to serious injury or property damage.
- Always turn off the gas supply before starting any work.
- Never work on gas lines unless you are properly trained and qualified. If you’re uncomfortable with any aspect of the gas line connection, contact a qualified professional.
- Wear appropriate safety gear, including safety glasses and work gloves.
- Proper ventilation is crucial to prevent carbon monoxide poisoning. Ensure adequate ventilation during and after the installation.
- Check for gas leaks using a soapy water solution after connecting the gas line. Bubbles indicate a leak, requiring immediate attention. If you detect a leak, evacuate the area and contact your gas company.
- Consult your local building codes and ensure compliance with all regulations.
- Follow the manufacturer’s instructions carefully. Each water heater model may have specific installation requirements.
- If you are unsure about any aspect of the installation, consult a qualified plumber or gas fitter. This is particularly crucial for gas line connections and venting.
- Carbon Monoxide detectors are essential for homes with gas appliances. Install and regularly test CO detectors to prevent potential carbon monoxide poisoning.
- Never attempt to repair a gas leak yourself. Immediately contact your gas company if you suspect a leak.
V. Troubleshooting Common Issues
Even with careful planning and execution, issues can arise during or after the installation. This section addresses some common problems and their solutions.
- Water Heater Not Heating: Check the gas supply, pilot light (if applicable), thermostat settings, and circuit breaker (if electric components are involved).
- Leaking Water Connections: Tighten fittings or replace damaged seals. If leaks persist, consult a plumber.
- Gas Leaks: Immediately turn off the gas supply and contact your gas company. Never attempt to repair a gas leak yourself.
- Insufficient Hot Water: Check the tank size, water heater’s temperature setting, and the efficiency of the unit. A smaller tank might not suffice for your household needs.
- Unusual Noises: Sediment buildup can cause rattling or banging sounds. Flush the tank to remove sediment. Persistent noises may indicate a more serious issue requiring professional attention.
- Pilot Light Won’t Stay Lit: Check the gas supply and the thermocouple. A faulty thermocouple may need replacement.
VI. Post-Installation Checks and Maintenance
After the installation, regular maintenance is vital for ensuring the long-term efficiency and safety of your gas water heater.
- Regularly inspect for leaks around all connections.
- Check the anode rod (if applicable) and replace it as needed. The anode rod helps prevent corrosion inside the tank.
- Flush the tank periodically to remove sediment buildup. This improves efficiency and extends the life of the water heater.
- Schedule annual inspections by a qualified professional. Professional inspections can identify potential issues before they become major problems.
- Monitor the water heater’s temperature and adjust as needed. Avoid setting the temperature too high to save energy and prevent scalding.